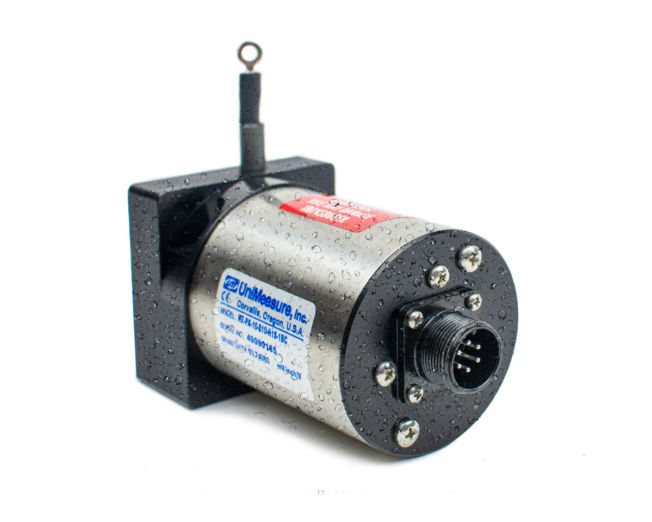
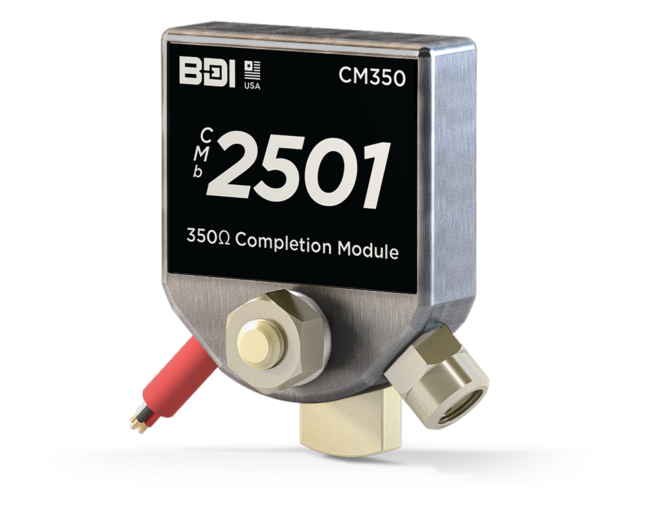
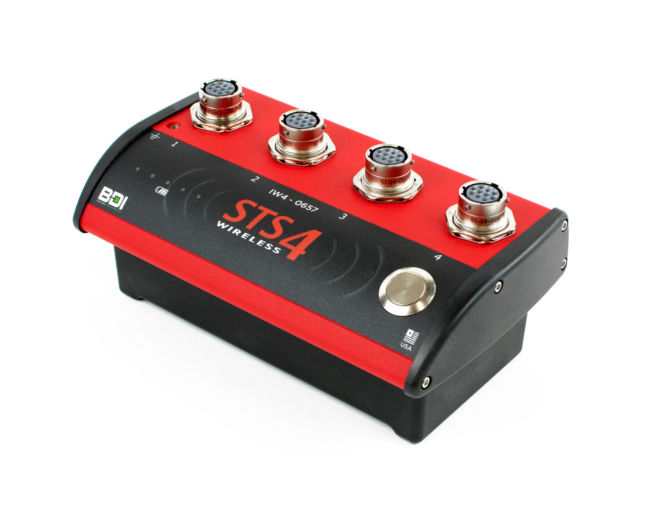
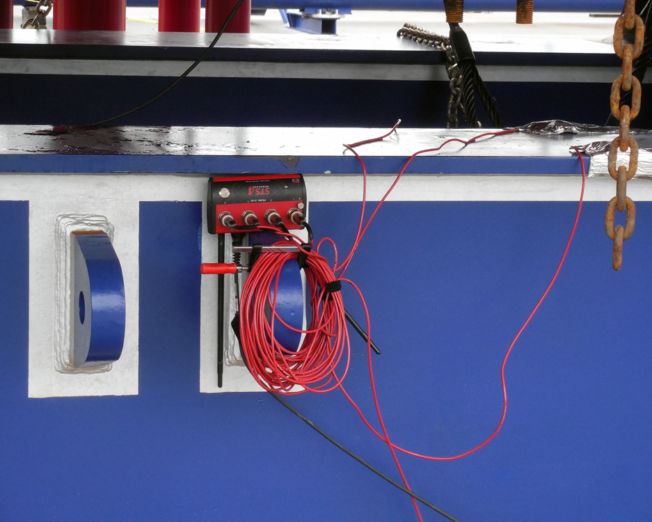
BDI performed inspection and testing services on the large lock miter gates and anchorage components. Inspection consisted of a hands-on visual inspection of all visible exterior and interior surfaces on all six miter gate leaves. Ultrasonic test methods were performed to determine condition and thickness of the gudgeon pins and plate thickness throughout each leaf. Material testing of various steel components was performed including girder webs, skin plates, gudgeon eyebar turnbuckles, and exposed portions of the gudgeon anchors. Strain gage tests were also performed to evaluate applied load magnitudes and stress cycles on the gudgeon anchorages.
Inspection assessments were made on all visible gate components and included identification of any new defects and thickness measurements of primary steel components. Damage identifications included cracks, various forms of corrosion, impact deformations, and paint effectiveness. In general, the visual assessments were a measure of deterioration since the last major rehabilitation of each gate. For all three gates, it was apparent that significant pitting and notable section loss was present prior to the last rehab at which point the gate surfaces had been cleaned and coated with paint. While previous pitting was noted, the focus of the 2017 inspection was on new deterioration. Steel plate thickness measurements were made throughout each gate leaf with noted ranges due to new and old pitting. With a few exceptions related to Gate 2, previous pitting and section loss was generally much greater than any new pitting or corrosion. The reported plate thickness measurements should be considered to be on the thicker side since it was difficult to obtain measurements in areas with significant deterioration or uneven surfaces. Component plate thicknesses can be considered to range between the reported measurement and that value minus 1/8th inch. Mean plate thicknesses can be considered the reported value minus 1/16th of an inch.


